Thursday, November 22, 2007
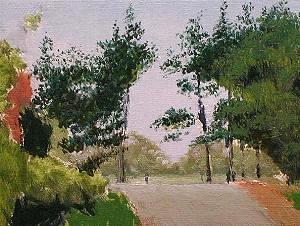
Art Lesson - Conclusion
Tuesday, November 20, 2007
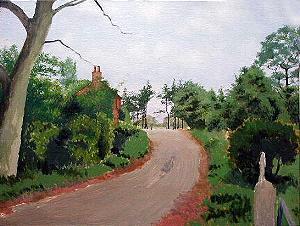
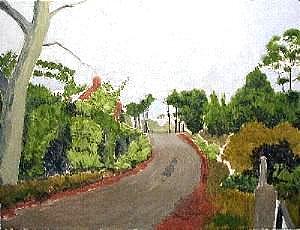
Art Lesson - Oil Painting - Detail & Highlights
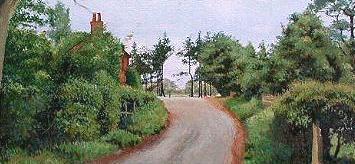

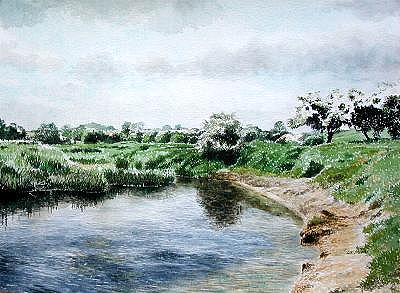
As you paint towards the foreground, work in some details, but make sure you do not completely lose the darkest areas which give the painting depth.
Work in the foreground of the painting.
Complete the final details and the highlights.
Sunday, November 18, 2007
Art Lesson - Oil Painting - Adding the detail
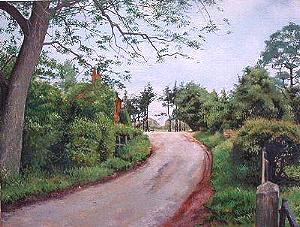
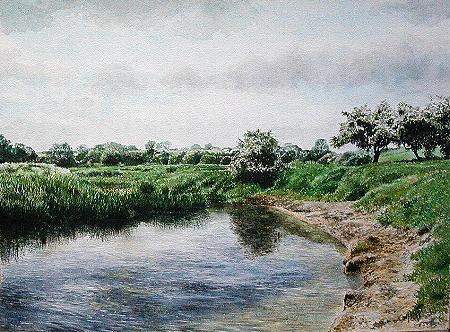
Back to the sky: Starting from the horizon, work in the colour and first details of the sky.
You can now start to paint in the details across the middle ground of the picture.
Add some detail and dark areas to the middle ground of the picture.
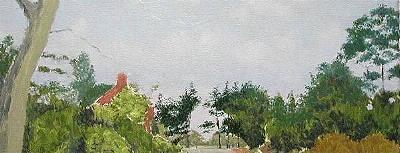
Working forward towards the foreground look for the darkest areas and paint them in.
Saturday, November 17, 2007
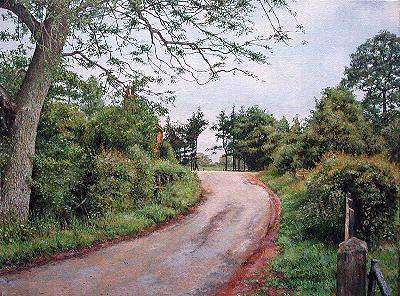
Art Lesson - Oil Painting - First Steps
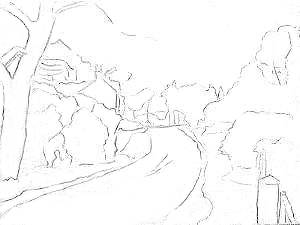
This is a small canvas 40x31cm approx.
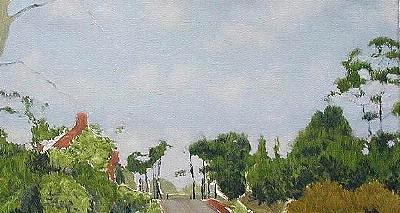
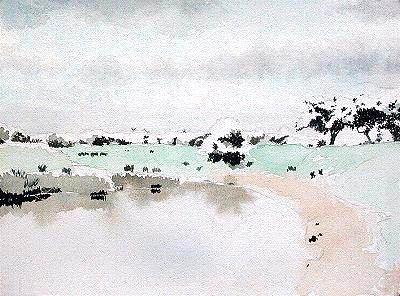
Draw out the basic shapes of the painting, using soft pencil or charcoal. There is no need to draw in any detail as you will see in the next stages. The first layer of paint is applied as a thin wash, using paint mixed with turpentine and a little linseed oil, start with the sky and block in the main areas of colour

Keep the colours as simple as possible at this stage, try to use the colours you see but in darker tones. When the main blocks of colour have been applied, begin to fill in the darkest areas.
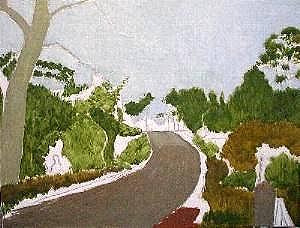
Put in some of the darker details, for example the trees in the background.
If possible leave surface to dry.
Friday, November 16, 2007
Art Lesson - Oil Painting - Material and Equipment
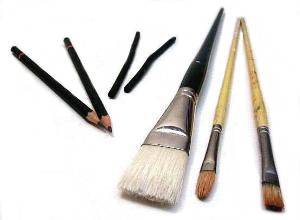
Soft pencil or charcoal is best for the initial drawing, especially on canvas. Hogs hair brushes are best suited for oil painting.
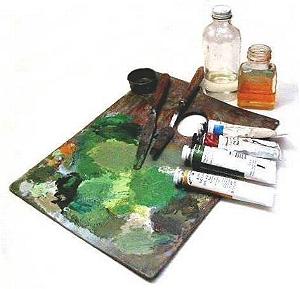
The main types are: flats, brights, filbert, and round. Sable, fitch, and squirrel hair brushes are also used, mainly to apply highlights and detail to the painting. A palette is essential for mixing paint. Shown here is a traditional style wooden palette, but any non-absorbent board will do, even an old dinner plate.
Palette knives are for mixing paint on the palette or applying large amounts of paint to the canvas.
Turpentine and linseed oil are used to thin the paint.
For the best results use good quality tubes of oil colour.
List of basic oil colours.
| | | | | |
| |
| Cadmium red |
| Alizarin |
| |
| Cadmium yellow |
| Yellow ochre |
| |
| Cobalt blue |
| Ultramarine |
| |
| Viridian |
| Cerulean |
| |
| Raw umber |
| Burnt umber |
| |
| Raw sienna |
| Titanium white |
| |  | |
The surface to be painted is usually referred to as the support. Stretched canvas, oil painting boards and oil painting paper are the most common. Hardboard can be used but must be primed with at least three coats of acrylic primer.
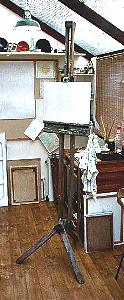
There are several types of easel. Shown here is a radial studio easel, which can be adjusted for height and the size of canvas (support). A collapsible easel is very portable and can be used for outdoor work.(See step by step watercolours). A good supply of rags, for wiping surplus paint off brushes and cleaning the palette, should always be at hand.
Saturday, November 10, 2007
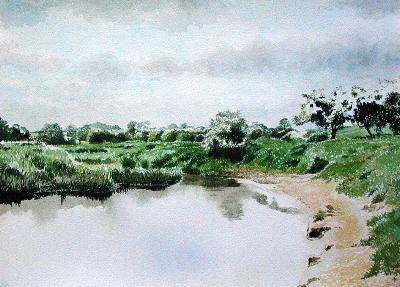
Art Lesson - Finishing
Add the details to the middle ground.
Finish with details in the foreground.
When surface is completely dry, it is possible to erase any pencil lines.
Art Lesson - Details
Let the washes dry a little and add the darkest areas of colour in the painting.
Starting at the horizon work in the mid tones. It is important at this stage to keep some of the unpainted paper and the paler washes as highlights.
Art Lesson - Washes
Allow the surface to dry slightly.


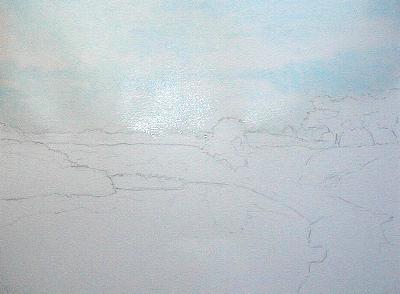
Paint into the still damp surface. This allows the paint to be mixed and blended on the paper.
Keep the brush damp but not loaded with water.
Treat all the other areas in the same way. To avoid colours running into each other try to leave a line of dry paper between the washes.
Leave any white areas as white paper.

Thursday, November 8, 2007
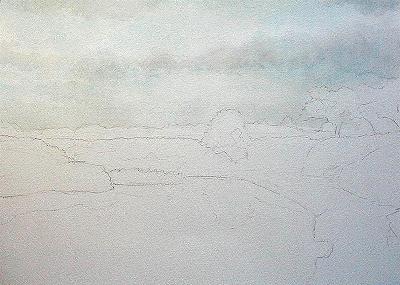
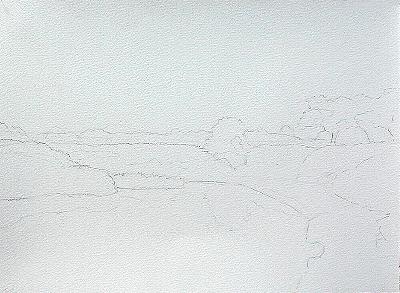
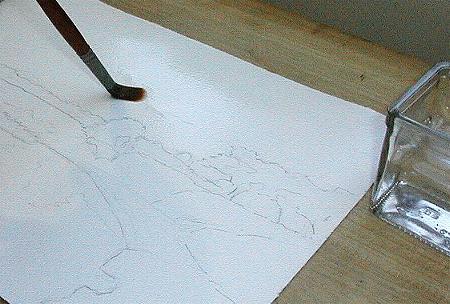
Art Lesson - Drawing and washes
Draw out the basic shapes of the painting, using soft pencil or charcoal.
Paint applied directly to the paper will dry quickly, and often creates a line that can not be removed. Clean water applied before the paint avoids this.
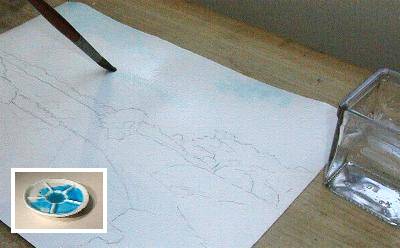
Apply the clean water to the first area to be painted, usually the sky in a landscape painting. Wetting the surface allows the paint to run freely.
Mix the colour to be used in a wash pan or similar container (bottom left of picture) with plenty of water, and use to wash in to the wetted area of paper, with a medium to large brush.
Wednesday, November 7, 2007
Art Lesson - Materials and equipment
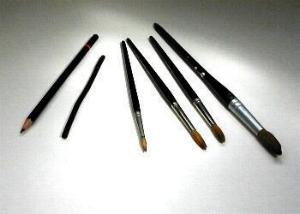
Soft pencil or charcoal is best for the initial drawing.
Sable brushes are best for watercolour.
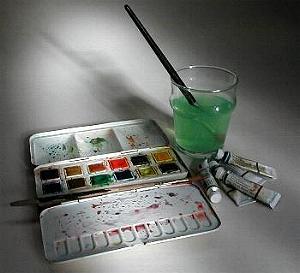
Fitch, squirrel hair and nylon brushes are also used. Watercolour paints are bought in the form of blocks known as pans and half-pans, or in tubes.
Wash pans are for mixing paint, and are built in to boxed sets, as illustrated on the right. Wash pans can be improvised from any small shallow container.
Containers are needed for water: one for clean water to add to paints, and one for washing paint from the brushes.
 | ||
Paper is the best support (surface) for watercolours, bought in pads, blocks, or as individual sheets, in a variety of weights and textures. Light weight paper needs to be stretched to avoid distortion. Paper 140lb. and over can be used with out stretching.
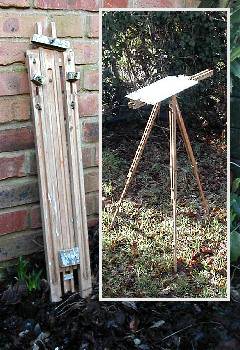
The main requirement of a watercolour easel is that it can hold the paper horizontally when applying washes. Table top easels are useful for indoor work. Shown here is a collapsible easel. These are very portable and can be used for outdoor work. It can be adjusted for height, and will hold the work surface horizontally.
Art Lesson - List of basic watercolours
| ||||||||||||||||||||||||||||||||||||||
